

Hey there! I'm a supplier of DI flange fittings, and I'm stoked to share with you how to install these bad boys on a vertical pipeline. Whether you're a DIY enthusiast or a professional plumber, this guide will walk you through the process step by step.
Why DI Flange Fittings?
First off, let's talk about why ductile iron (DI) flange fittings are a great choice. They're super durable, resistant to corrosion, and can handle high pressures. That means they'll last a long time and keep your pipeline running smoothly. And if you're looking for different types of DI flange fittings, check out Flanged Ductile Iron Fittings, ISO2531 Ductile Iron Pipe Fitting, and EN545 Ductile Iron Pipe Fitting.
What You'll Need
Before you start the installation, make sure you have all the necessary tools and materials. Here's a rundown:
- DI flange fittings (obviously!)
- Vertical pipeline
- Gaskets
- Bolts and nuts
- Wrenches
- Pipe cutter (if needed)
- Measuring tape
- Marker
- Sealant
Step 1: Prepare the Pipeline
The first thing you gotta do is prepare the vertical pipeline. Start by measuring the length where you want to install the flange fitting. Use a measuring tape and mark the spot with a marker. If the pipeline is too long, you can use a pipe cutter to trim it to the right length.
Next, clean the ends of the pipeline. Remove any dirt, debris, or rust. You can use a wire brush or sandpaper to get a clean surface. This is important because a dirty surface can prevent the gasket from sealing properly.

Step 2: Choose the Right Gasket
Picking the right gasket is crucial. The gasket creates a seal between the flange fitting and the pipeline, preventing leaks. There are different types of gaskets available, such as rubber, asbestos-free, and metal. Make sure to choose a gasket that's compatible with the fluid or gas that will be flowing through the pipeline.
When you're selecting the gasket, also consider the size and shape. It should fit snugly between the flange faces. You can measure the flange faces to determine the correct gasket size.
Step 3: Install the Gasket
Once you've got the right gasket, it's time to install it. Place the gasket on one of the flange faces. Make sure it's centered and aligned properly. You can use a little bit of sealant on the gasket to help it stick in place.
Step 4: Connect the Flange Fitting
Now it's time to connect the flange fitting to the pipeline. Carefully align the flange fitting with the pipeline end. Make sure the holes in the flange match up with the holes in the pipeline. You might need to use a wrench to hold the pipeline steady while you're aligning the flange.
Once the flange is aligned, insert the bolts through the holes. Put a nut on each bolt and hand-tighten them. Don't fully tighten the bolts just yet. You want to make sure the flange is evenly tightened all around.
Step 5: Tighten the Bolts
Start tightening the bolts in a criss-cross pattern. This helps to ensure that the flange is tightened evenly and the gasket is compressed uniformly. Use a wrench to tighten the bolts gradually. Don't go all out and try to tighten them as hard as you can right away. You might damage the flange or the gasket.
Keep tightening the bolts in small increments until they're all snug. Then, go around one more time and give each bolt a final tightening. Make sure the bolts are tightened to the recommended torque specified by the manufacturer.
Step 6: Check for Leaks
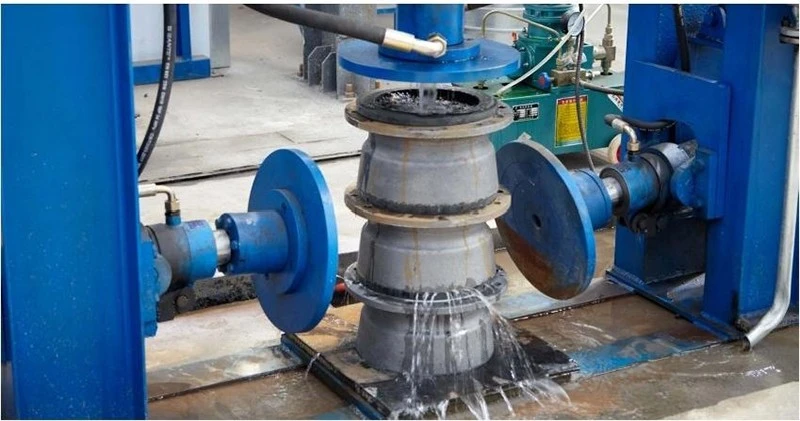
After you've tightened all the bolts, it's time to check for leaks. You can do this by turning on the fluid or gas supply to the pipeline. Look for any signs of leakage around the flange connection. If you see any leaks, you might need to loosen the bolts slightly and reposition the gasket. Then, retighten the bolts and check again.
Step 7: Final Checks
Once you're satisfied that there are no leaks, do a final check of the installation. Make sure the flange fitting is securely attached to the pipeline and there are no loose bolts. Also, check the alignment of the pipeline to make sure it's still vertical and straight.
Wrapping Up
Installing DI flange fittings on a vertical pipeline might seem a bit daunting at first, but if you follow these steps, you'll be able to do it like a pro. Remember, using high-quality DI flange fittings and following the proper installation procedures will ensure a long-lasting and leak-free pipeline.
If you're in the market for DI flange fittings, I'm here to help. We offer a wide range of Flanged Ductile Iron Fittings, ISO2531 Ductile Iron Pipe Fitting, and EN545 Ductile Iron Pipe Fitting. If you have any questions or want to discuss your specific needs, don't hesitate to reach out. We're always happy to have a chat and help you find the right products for your project.
References
- Plumbing Handbook
- Ductile Iron Pipe Fittings Installation Guide